

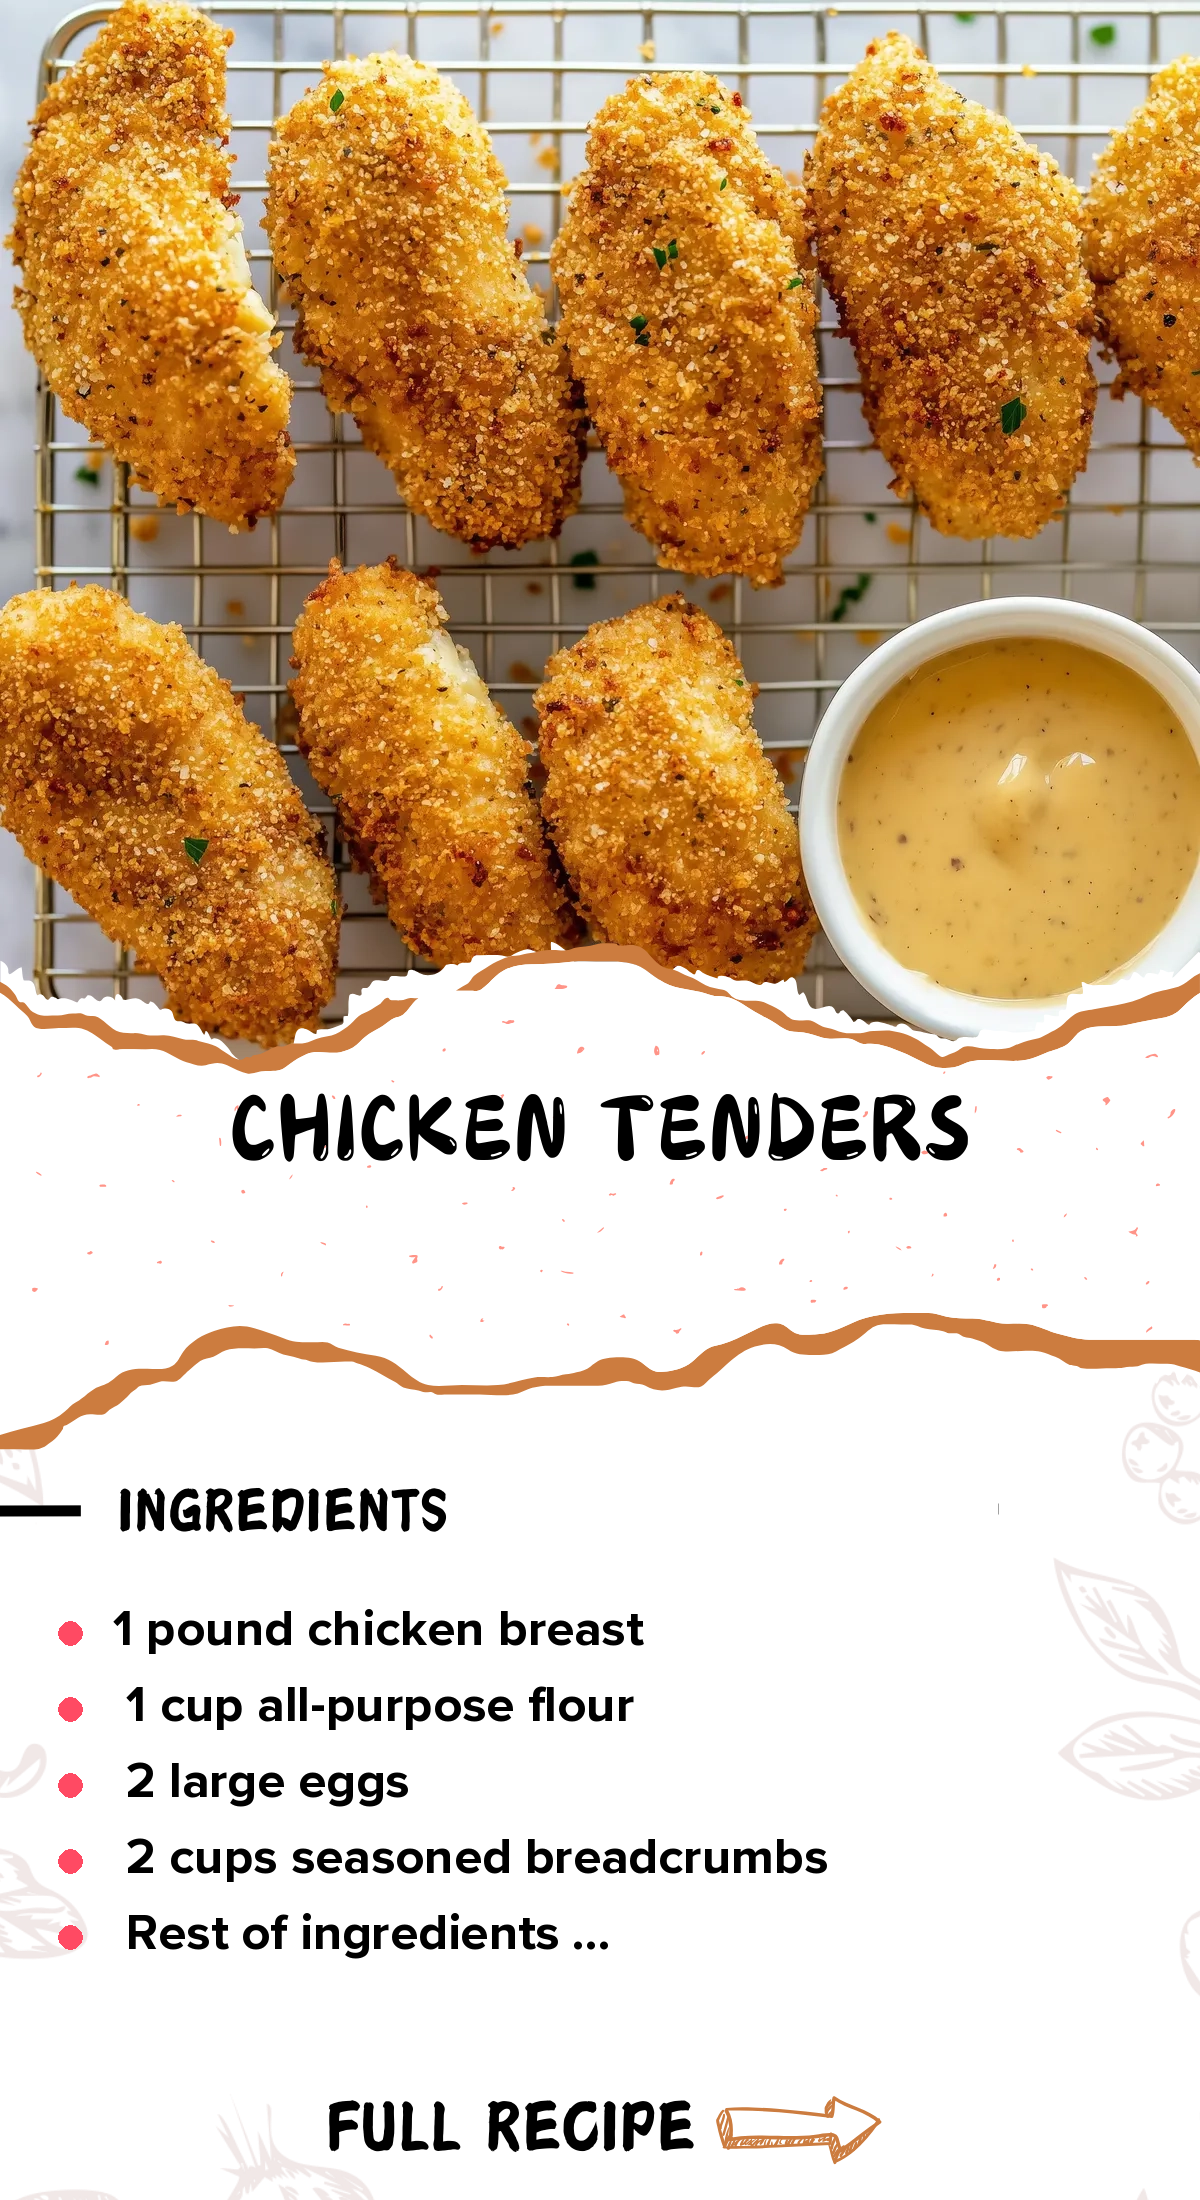
When it comes to making chicken tenders, this recipe stands out as a tasty and easy option for busy weeknights or last-minute guests. These tenders are crispy on the outside and juicy on the inside, making them a hit with both kids and adults.
This recipe addresses the need for healthier chicken tenders, quick preparation, and consistent baking that avoids greasiness while maintaining flavor and texture.
I’ve faced my share of cooking challenges, especially when trying to find a way to make homemade chicken tenders that are healthier and as satisfying as fried versions. With the goal of avoiding greasy messes, I’ve discovered a delicious way to enjoy crispy baked chicken tenders without sacrificing flavor or texture.
This reliable recipe is quick too, ready in just about 30 minutes. It uses a simple breading process that results in great flavor while keeping things fuss-free. If you’re after easy dinner ideas, you’ll want to check out my classic marinara sauce, which pairs wonderfully with these chicken tenders.
Table of contents
Dietary Considerations
- This recipe is not gluten-free due to all-purpose flour.
- The recipe contains eggs, so it is unsuitable for vegan diets.
- The recipe suits dairy-free diets only when using olive oil instead of cooking spray.
- This recipe does not meet keto diets due to high carbohydrate content from breadcrumbs.
- The recipe is nut-free.
Why You Will Love This Recipe
- Healthier Crunch The crispiness of baked chicken tenders means you can enjoy that satisfying crunch without the extra oil from frying. This version keeps the flavor intact while being lighter on the waistline.
- Flavorful Breadcrumbs The seasoning blend adds a zesty kick to every piece, making each bite deliciously different. It uses garlic powder, onion powder, and paprika for an extra burst of flavor that elevates the dish.
- Quick and Simple Prep With just a few steps to follow, you can whip up juicy chicken tenders in about 30 minutes. This makes it an easy weeknight option when time is tight.
- Flexible Cooking Options Whether you lean toward baked chicken tenders or want to go the fried route, this recipe can accommodate. You can switch up the cooking method to suit your mood and still achieve a delightful result.
Chicken Tenders
- Prep Time: 10 minutes
- Cool Time: 0 minutes
- Cook Time: 20 minutes
- Total Time: 30 minutes
- Yield: 4 servings 1x
- Category: main course
- Method: baking
- Cuisine: American
- Diet: gluten-free option available
Description
A tasty and easy option for busy weeknights or last-minute guests, these chicken tenders are crispy on the outside and juicy on the inside.
Ingredients
- 1 lb chicken breast, cut into strips
- 1 cup all-purpose flour
- 2 large eggs
- 1 cup seasoned breadcrumbs
- 1 tsp garlic powder
- 1 tsp onion powder
- 1 tsp paprika
- 1/2 tsp black pepper
- 1/2 tsp salt
- 1/4 tsp cayenne pepper
- Cooking spray or olive oil for baking
Instructions
- Start by preheating your oven to 400°F. This helps ensure your chicken tenders bake evenly for that desired crunch.
- Take a moment to set out your baking sheet. A wire rack on top will improve air circulation and enhance crispiness.
- Gather three shallow bowls for your breading process. Place flour in one, whisk eggs in another, and mix breadcrumbs with spices in the last. This organized setup simplifies the coating process.
- Using seasoned breadcrumbs adds depth of flavor that distinguishes your chicken tenders from basic versions.
- Dip each chicken strip into the flour first, then the egg, and finish with the breadcrumb mixture. Press gently to ensure the breadcrumbs adhere well for a satisfying crunchy texture.
- Getting the coating right keeps the chicken tender inside while delivering that fabulous crunch outside.
- Place the coated chicken tenders on the wire rack or a greased baking sheet, ensuring space between each piece. This spacing allows for even cooking and prevents sogginess.
- Proper spacing is essential—crowded tenders may steam instead of bake, impacting that desired crunch.
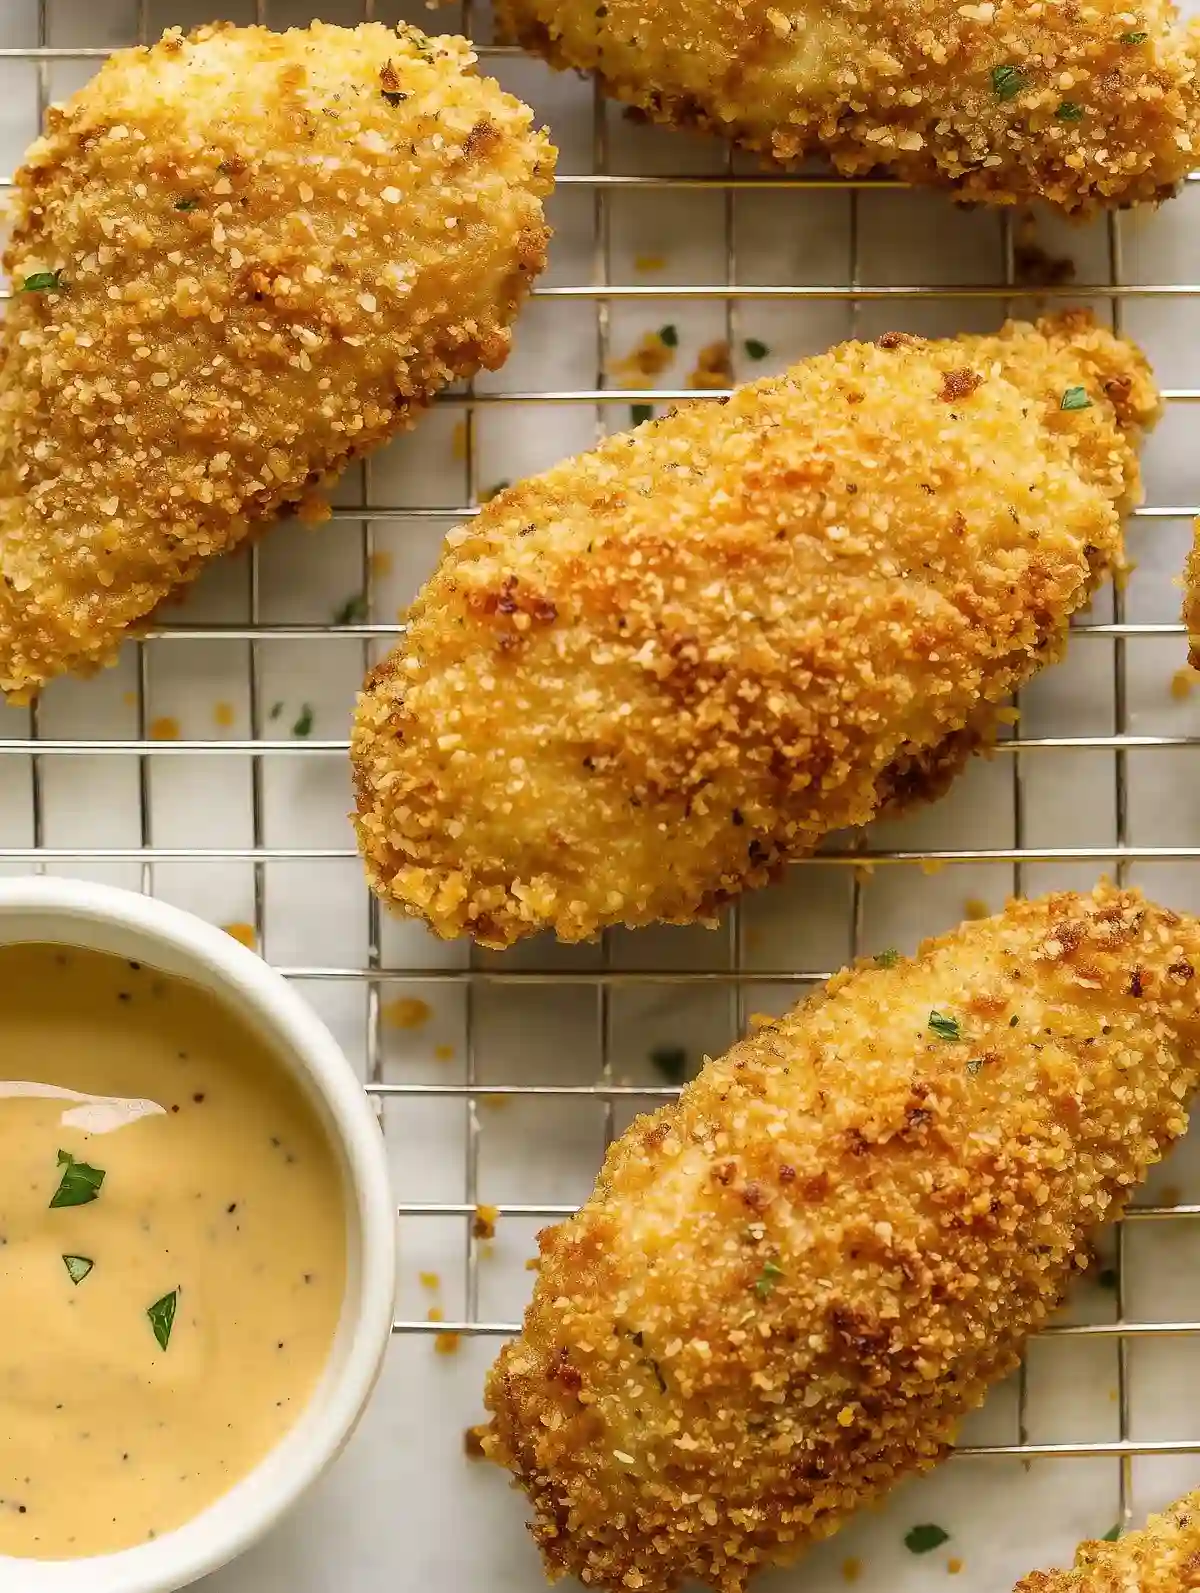
- Bake for 20-25 minutes, until the tenders turn golden brown and reach an internal temperature of 165°F. Keep an eye on them; you’ll notice a delicious aroma filling your kitchen as they cook!
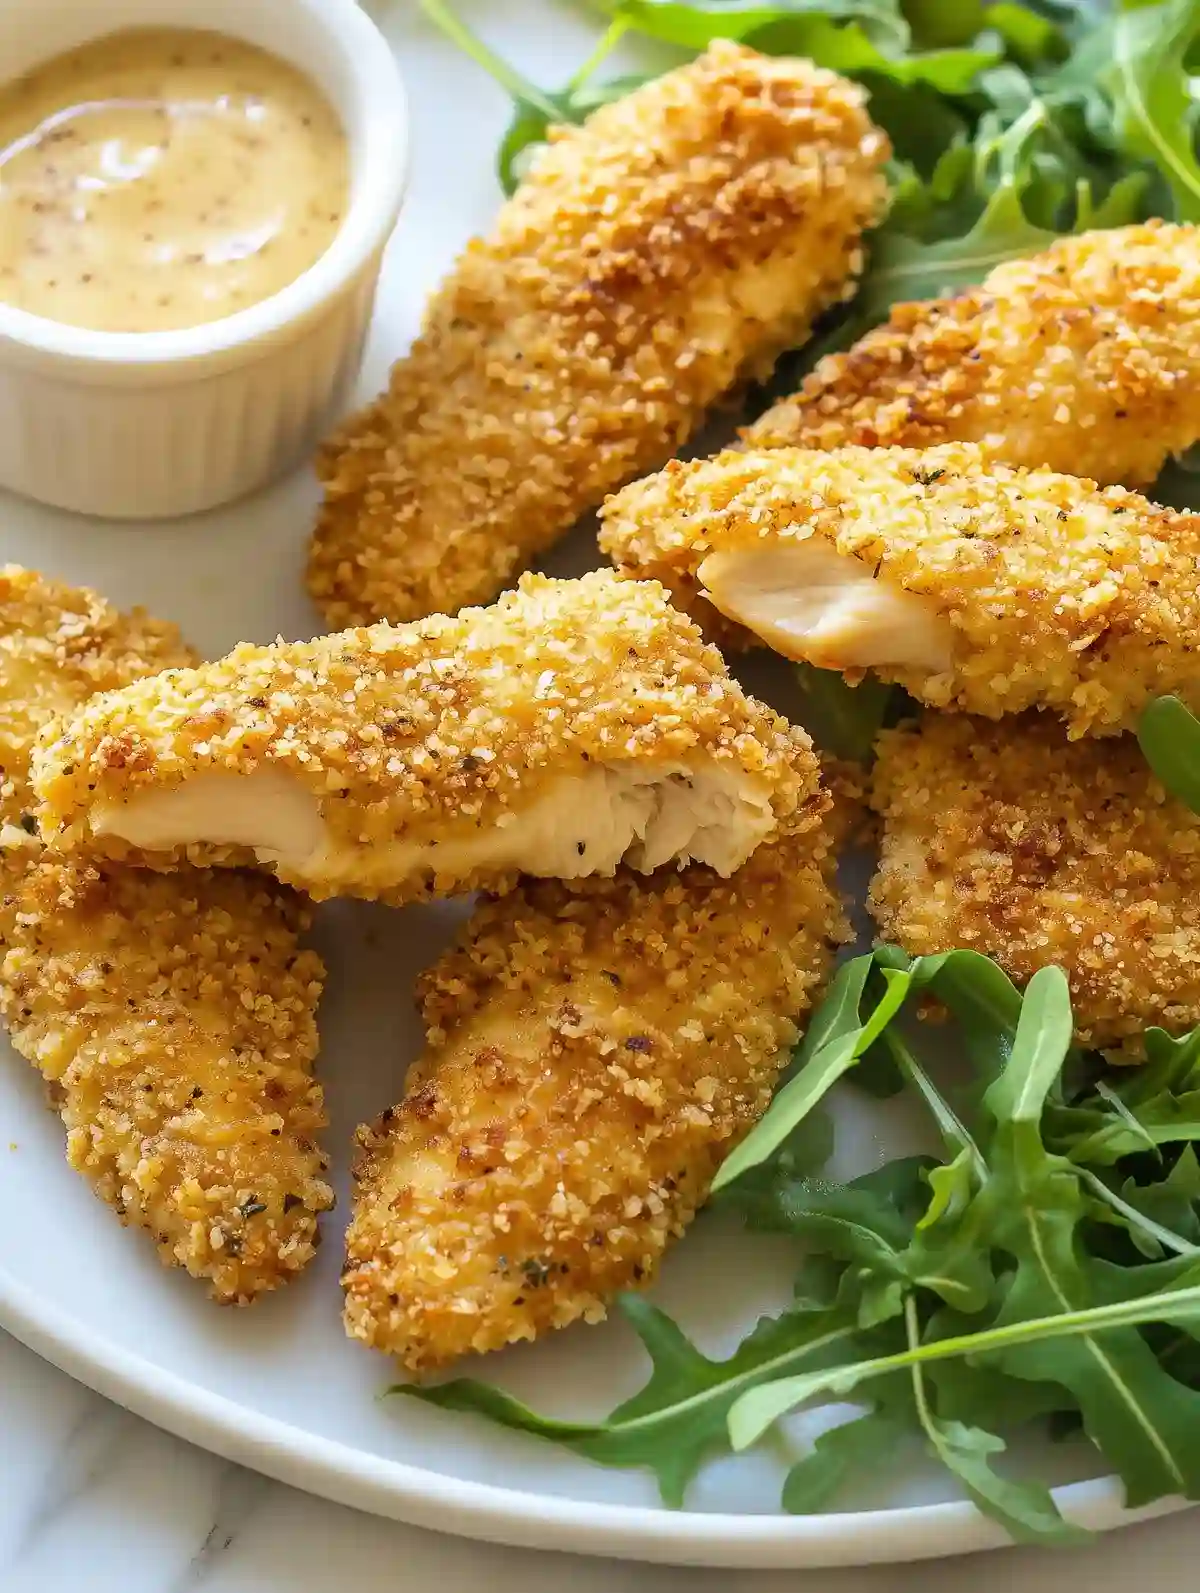
- Let the tenders cool slightly before serving. Pair them with your favorite dips, like honey mustard or ranch, for a flavor twist.
- This cooling period helps maintain crispiness while ensuring they’re just right to bite into.
Notes
- The seasoned breadcrumbs not only give flavor but also create a contrast in texture, enhancing your chicken tenders with a satisfying crunch.
- For gluten-free alternatives, use gluten-free breadcrumbs or whole grain options, which provide nutritional benefits without compromising taste.
- Store leftovers in an airtight container in the refrigerator for up to three days and reheat in the oven at 350°F for up to 10 minutes to keep them crispy.
- Consider freezing raw tenders before baking, allowing you to enjoy a quick dinner option later on!
Nutrition
- Serving Size: 1 serving
- Calories: 350
- Sugar: 2g
- Sodium: 600mg
- Fat: 10g
- Saturated Fat: 2g
- Unsaturated Fat: 8g
- Trans Fat: 0g
- Carbohydrates: 30g
- Fiber: 2g
- Protein: 30g
- Cholesterol: 150mg
Ingredient Notes
- Chicken breast: Choose lean, skinless cuts for juicy chicken tenders. Fresh, high-quality pieces will yield the best flavor and texture.
- All-purpose flour: A standard choice for dredging; it helps create a nice base layer. If you need a gluten-free option, look for a measure-for-measure variety that holds well.
- Eggs: Use large eggs to help bind the coating. Whisk them well so the mixture coats the chicken evenly and promotes a crispy crust.
- Seasoned breadcrumbs: Look for a brand with spices added to boost flavor. These crumbs give chicken tenders a crunchy texture without needing frying.
- Garlic powder: A must for flavoring the breadcrumb mixture, it adds depth. Use fresh garlic if you want a stronger punch, but it may need adjustments in the coating.
- Onion powder: This enhances the overall flavor profile without overpowering the dish. It’s a great complement to the garlic and works well in savory dishes.
- Paprika: This ingredient adds a subtle smokiness and vibrant color. Opt for smoked paprika if you’re looking for a deeper flavor; regular works fine too.
- Black pepper: Freshly ground black pepper is best for a robust taste. Adjust the amount for your family’s heat preference.
- Cayenne pepper: Use this for a spicy kick. If you want a milder version, reduce the amount or skip it altogether, depending on your taste preferences.
- Cooking spray or olive oil: Spraying the tenders helps them get golden and crispy in the oven. Olive oil provides flavor, so choose extra virgin for the best taste.
Recipe Baking Tips
- If tenders aren’t browning, check 15 minutes into baking. Spray tops with cooking spray or olive oil to promote golden color and crispiness.
- For uneven cooking, place coated pieces about 1 inch apart on the baking sheet. This allows for better air circulation and more even crisping during baking.
- If using gluten-free breadcrumbs, cook time may vary. Check chicken tenders for doneness at 20 minutes to ensure they are fully cooked through.
- When reheating leftovers, place chicken pieces in a preheated oven at 350°F for up to 10 minutes. This helps retain their crispiness compared to microwaving.
- If the breading isn’t sticking, make sure to shake off excess flour before dipping in the egg wash. This helps the breadcrumb coating adhere properly.
Serving Suggestions
Serve with roasted sweet potatoes or a crisp green salad. Pair with homemade potato wedges or steamed broccoli for added color.
Use to make a fun breast wrap or chicken Caesar salad. Add to a hearty pasta dish or serve in sliders for variety.
Top with honey mustard or barbecue sauce for sweetness. Serve with ranch dressing or a zesty yogurt dip for more flavor.
Recipe variations
- You can use whole grain breadcrumbs for a nuttier flavor and added fiber in your tenders. This subtle change makes the dish even more nutritious and satisfying.
- Add a pinch of smoked paprika or chili powder for a smoky twist to the breadcrumb mixture. This enhances the overall depth while keeping the chicken flavorful.
- Either fresh parsley or oregano can be added to the breadcrumb mix for a burst of herbal freshness. These herbs bring an aromatic quality that complements the chicken beautifully.
- If you’re preparing a larger meal, consider doubling the chicken and breading ingredients. Baking more tenders at once saves time and makes for a wonderful family dinner.
Save This Recipe!
How to Store?
To keep your chicken tenders fresh and delicious, follow these storage tips:
Room Temperature: Store in an airtight container at room temperature up to 2 hours after cooking.
Refrigeration: Place in an airtight container in the refrigerator up to 3 days. Reheat in the oven to retain crispiness.
Freezing: Wrap tenders in plastic wrap, then place in a freezer bag up to 3 months. Thaw in the refrigerator overnight before reheating.
Other Recipes You’ll Love
- Lemon Garlic Chicken Tenderloins
- Honey Mustard Chicken Tenderloins
- Crispy Chicken Tenderloins
- Spicy Garlic Chicken Tenderloins
Yes. Chicken tenders, or tenderloins, are small strips of meat attached to each chicken breast, yielding two tenders per chicken.
No. Chicken tenders are specifically the tenderloin portion of the breast, cut into strips, then breaded and cooked.
The tough, white tendon attached to the tenderloin can be left in but is better removed for a more enjoyable eating experience.
Chicken tenders are expensive due to high demand and the popularity of chicken breast, the most sought-after part of the chicken.
Yes. Chicken tenders offer B vitamins, phosphorus, and selenium, making them a nutritious option when paired with healthy sides.
Chicken tenders can be fried for a crispy texture or baked for a healthier, less oily alternative, both methods yielding delicious results.
If you enjoyed this Chicken Tenders or any other recipe on my blog, please leave a ⭐ star rating and let me know how it went in the comments below. I appreciate taking time to read about this recipe, thank you!